
Apple in-app purchase key
The one purchase setting Apple keeps for you: generate the key and give it to RevenueCat, so every purchase is recorded.
This is the one purchase setting Apple keeps for you: an in-app purchase key, given to RevenueCat. Bloxks creates your subscriptions, your RevenueCat apps and your paywall, but Apple offers no way for a tool to generate this key on your behalf. It takes 5 minutes, and one key is enough for all your apps.
Why it matters
Bloxks apps use RevenueCat’s current SDK, which relies on Apple’s StoreKit 2. With it, RevenueCat must check every purchase directly with Apple, and it needs this key to do so. Without it:
- purchases are not recorded: a user who pays does not get premium access;
- prices, currencies and countries in your RevenueCat dashboard are estimated instead of exact;
- subscription offers and looking up a customer by Apple order number do not work.
Careful not to mix up the keys: the Admin key you gave Bloxks is for publishing (Apple key with Admin access). This one is a second key, dedicated to purchases, and it goes to RevenueCat, not to Bloxks.
Before you start
- You need the Account Holder, Admin or App Manager role on the Apple Developer account.
- Your app must already exist in RevenueCat. Bloxks creates it on your first publication with a paywall, or when you link RevenueCat in the Paywall tab.
Step 1: generate the key in App Store Connect
- Open App Store Connect, then Users and Access, then the Integrations tab.
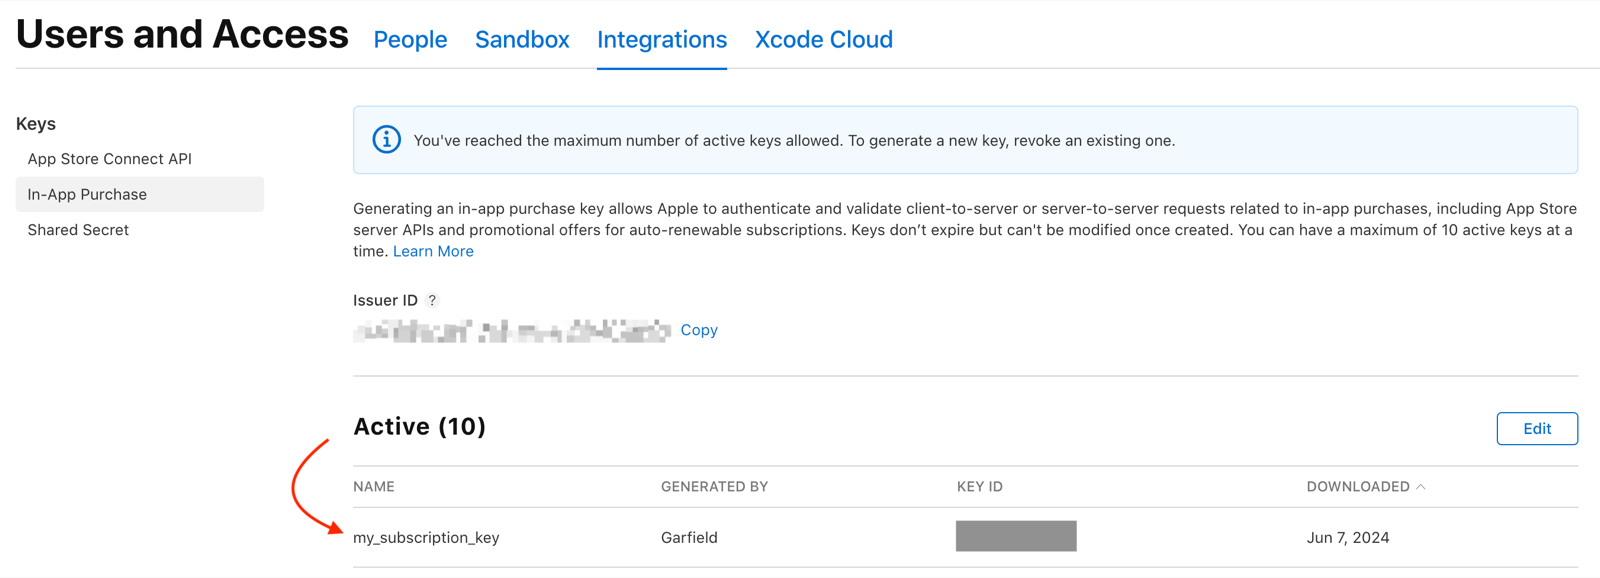
- In the left column, under Keys, click In-App Purchase.
- Click Generate In-App Purchase Key, or the + next to Active if you already have keys.
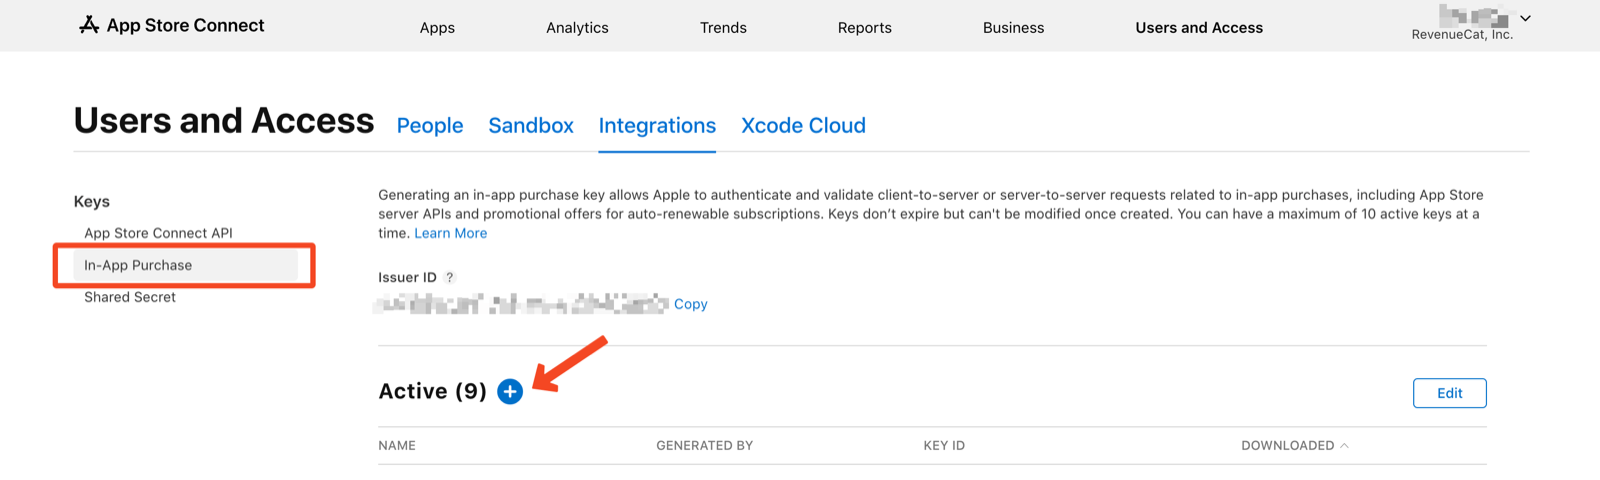
- Give it a name only you will see, for example RevenueCat, then confirm.
- On the new key’s line, click Download API Key and keep the .p8 file somewhere safe. Apple lets you download it only once. Do not rename the file: its name holds the key ID, which RevenueCat reads on its own.

Step 2: upload it to RevenueCat
- Open the RevenueCat dashboard and select your app’s project.
- Under Apps, click the App Store app (the one with your iPhone app’s bundle ID).
- Open the In-app purchase key configuration section and drop the .p8 file in the upload area. The Key ID fills itself from the file name.
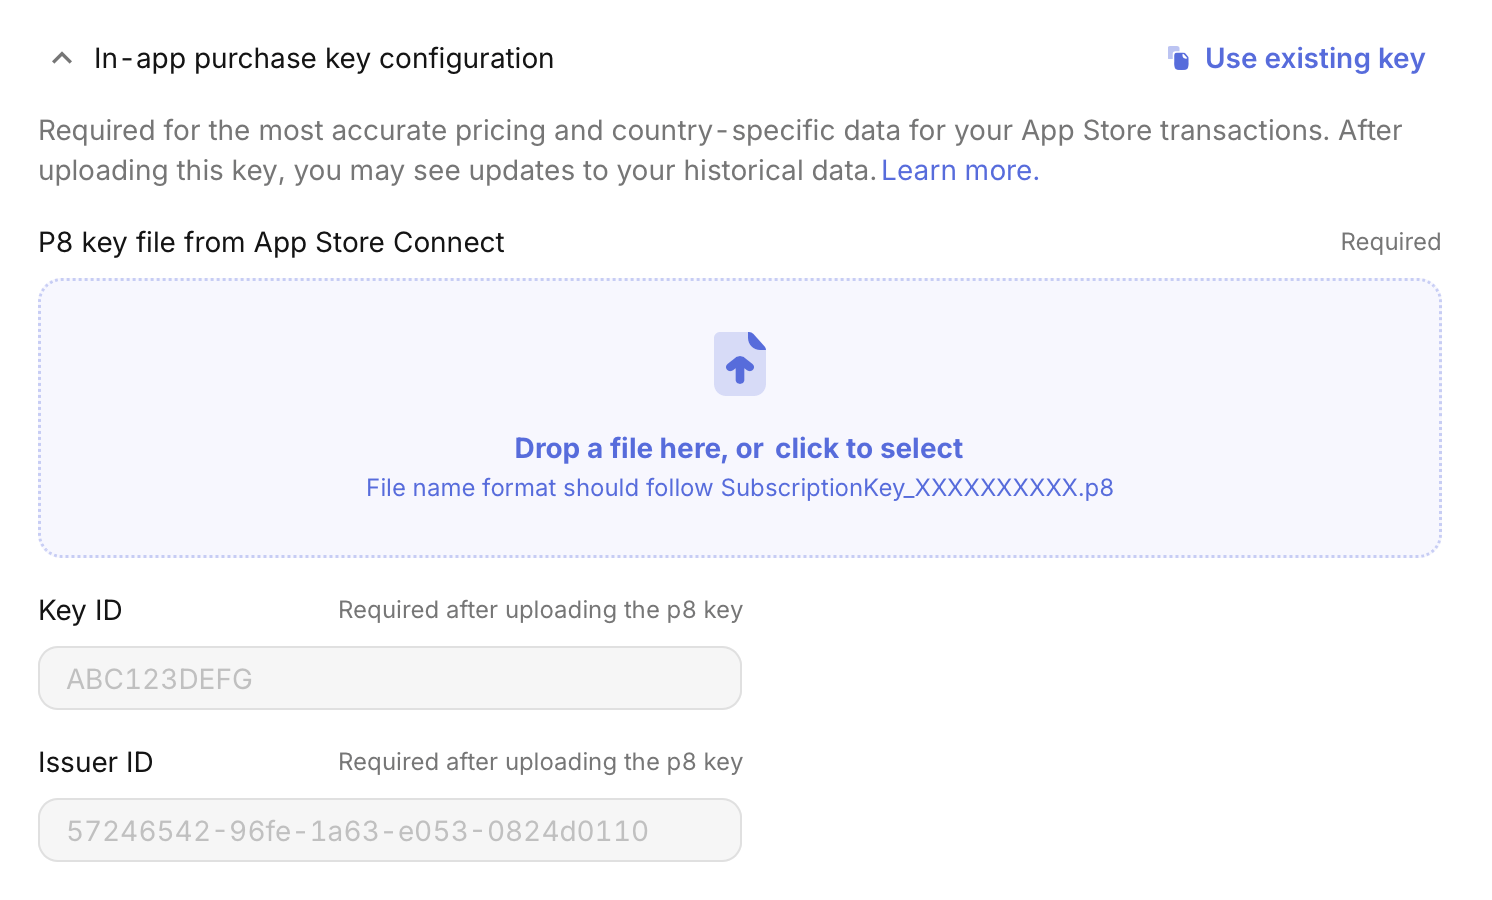
Already configured a key for another app? Click Use existing key to reuse it: no need to generate a new one.
Step 3: add the Issuer ID
- Back in App Store Connect, on the same In-App Purchase page, copy the Issuer ID shown at the top.
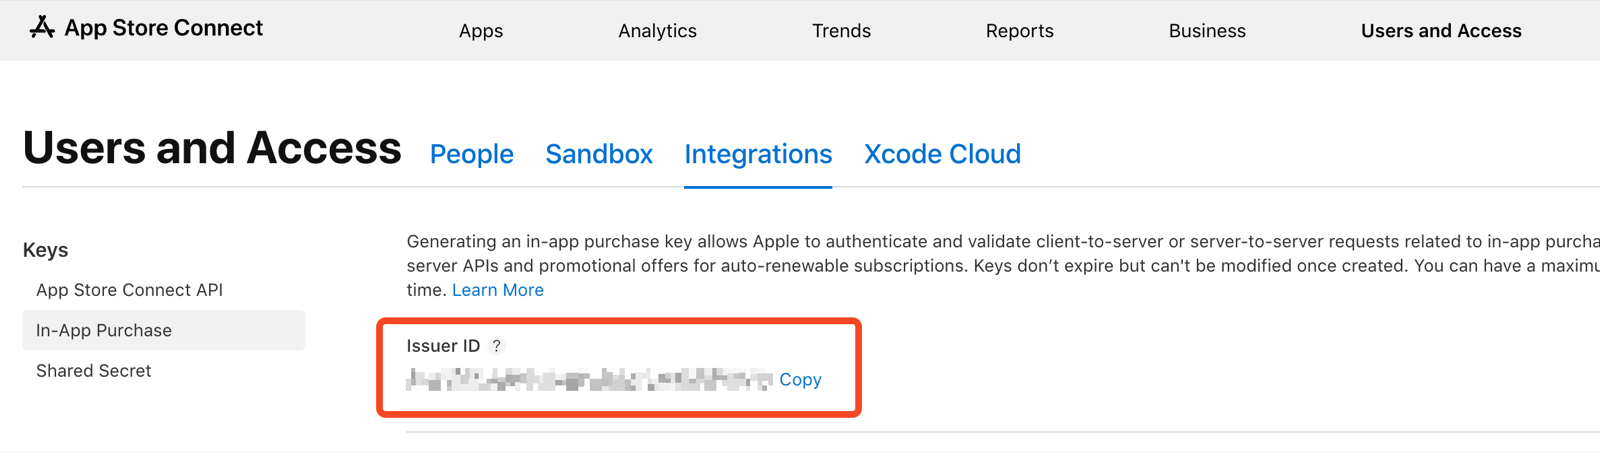
- Paste it in RevenueCat’s Issuer ID field, then click Save changes.
No Issuer ID at the top of the page? Create any key under App Store Connect API (name and access do not matter): the Issuer ID then appears, and it is the same for both kinds of keys. The one shown in your Bloxks App Store Connect connection is also the right one.
Check that it works
RevenueCat checks the key every time you upload it. When everything is right, Valid credentials appears under the file, with both lines ticked.
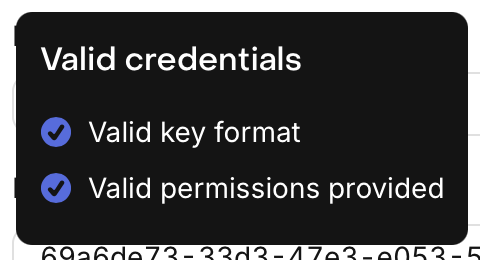
Then test a purchase from TestFlight: it should appear in RevenueCat’s customer list within a few seconds. The full launch checklist is in Paywall and subscriptions.
If it doesn’t work
- Invalid key format: the file is not the one downloaded from In-App Purchase, or it was renamed or edited. Upload the original file again.
- Invalid permissions: check that the Issuer ID is right, that the app’s bundle ID in RevenueCat matches your app exactly (capital letters included), and that the key is still listed under Active in App Store Connect.
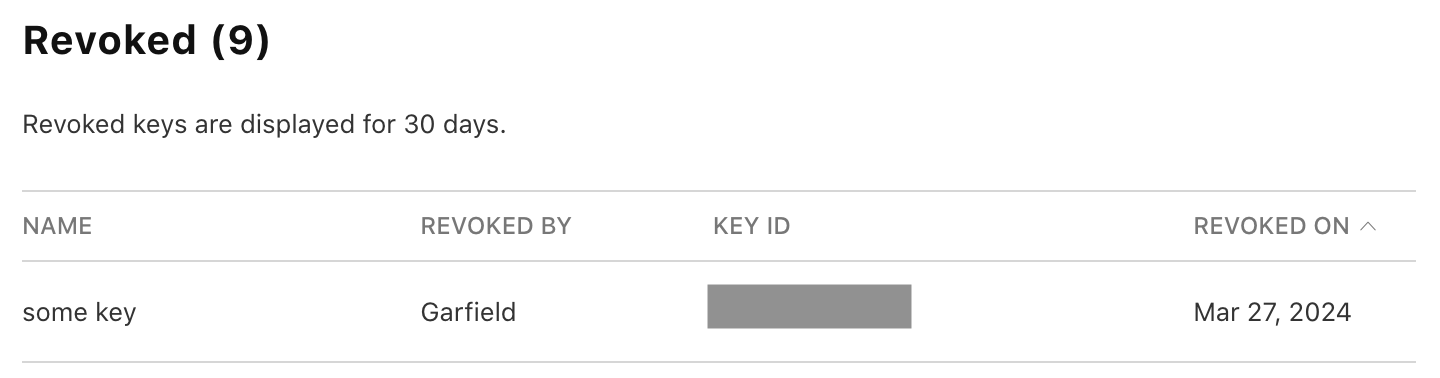
- The key is under Revoked: it no longer works. Generate a new one and start again at step 1.
- Save changes stays greyed out: a required field is empty somewhere in the app’s settings. Open each section to find it.
- Apple refuses a new key: you can have at most 10 active keys. Reuse an existing one with Use existing key, or revoke one you no longer use.
Good to know
- One key serves all the apps of your Apple account: generate it once, then reuse it.
- An Apple key never expires, but it cannot be changed: to replace it, generate a new one.
- Adding the key to an app that already has sales can update its past figures in RevenueCat: estimates are replaced by Apple’s exact data.
- Keep the .p8 file private: never paste it in the Bloxks chat or in your app’s code.
Source: RevenueCat official guide, from which the screenshots on this page are taken.