
Set up your Apple account
Membership, paid apps agreement, bank, tax and the smaller commission: everything Apple asks before your first publication.
Before your app can exist on the App Store, Apple needs an account, an agreement and a few forms. It is the least exciting part of the journey, and the one that blocks the most launches: some steps take days, so start them early.
Bloxks handles everything that comes after: it creates your app’s identifier, its listing, its subscriptions and its build, then submits it for you.
1. Join the Apple Developer Program
Count 99 USD per year, paid to Apple. Two account types, and the choice is not just paperwork:
- Individual: your app is sold under your own legal name, visible to everyone on the App Store. Validation is usually quick.
- Organization: your app is sold under your company name. Apple requires a D-U-N-S number, which identifies the company. It is free, but obtaining it can take up to two weeks, so ask for it first. Validation then takes a few days.
Start here: Apple Developer Program. Check Apple’s D-U-N-S lookup first: your company may already have one.
2. Sign the agreement, add your bank and tax details
In App Store Connect, open Business. Three things, in this order:
- Accept the Paid Applications agreement. It is required to sell anything, including a subscription.
- Add your bank account: this is where Apple pays you.
- Fill in the tax forms for the territories where you sell.
Only the Account Holder can do this. Until the agreement is Active, your paid plans do not load anywhere, not even in testing, and Apple gives no error explaining it. Allow up to 24 hours after everything is filled in.
A free app with no subscription can skip this step, and come back to it the day it starts selling.
3. Ask for the smaller commission
If you earned less than 1 million USD last calendar year, the App Store Small Business Program lowers Apple’s commission from 30% to 15%. Enrolling takes a few minutes on Apple’s page, and the new rate starts on the first day of the month after your approval. New accounts are eligible: do it right away.
4. Give Bloxks access
In Users and Access, then Integrations, create an App Store Connect API key with Admin access, and note the Issuer ID shown above the list of keys. That key is what lets Bloxks publish for you.
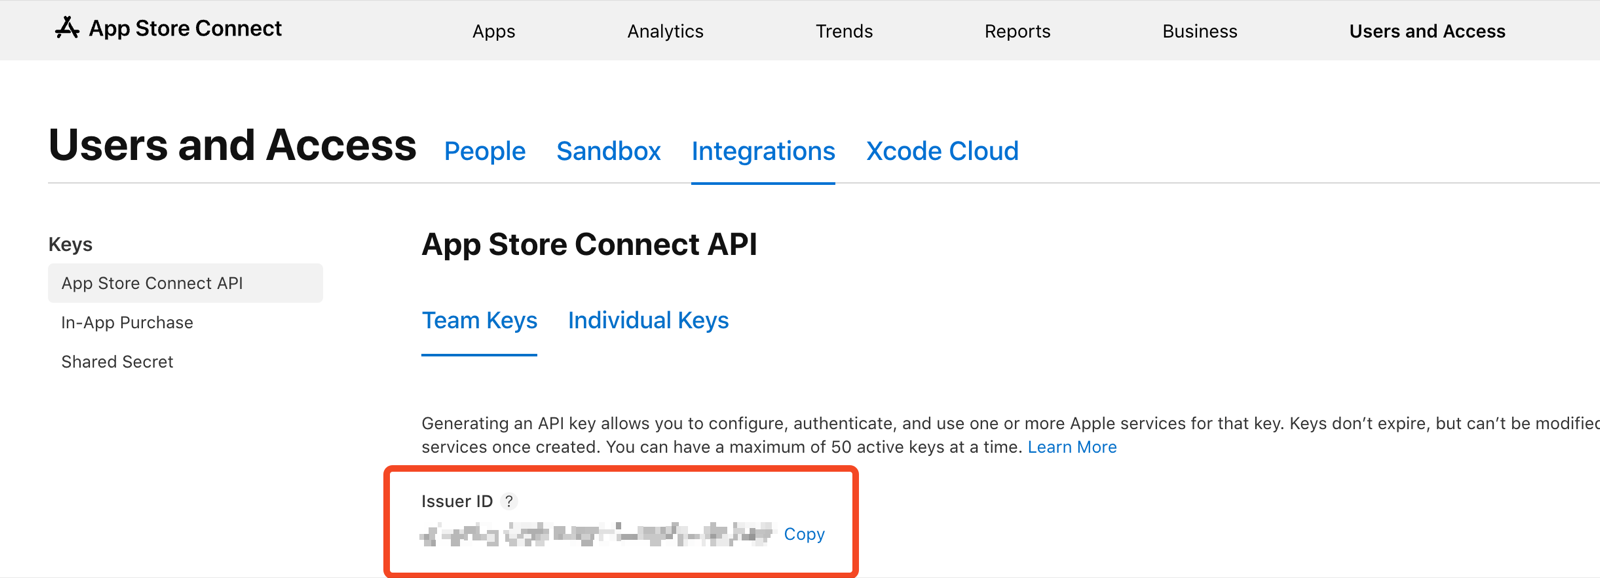
Three things worth knowing: a key is downloaded only once, its access level cannot be changed afterwards, and an account holds at most 50 active keys. Step by step: Apple key with Admin access, then connect App Store Connect.
Selling subscriptions? One more key is needed, dedicated to purchases: Apple in-app purchase key.
5. Create a test account
In Users and Access, then Sandbox, create a sandbox tester: a fake Apple account for trying purchases without paying. You will use it to test your paywall from TestFlight.
What Bloxks does for you
- The app identifier (bundle ID) and the App Store listing.
- The name, description, keywords, screenshots and privacy answers.
- Subscriptions, their prices in every country and their free trial.
- The build, its upload and the submission for review, with the subscriptions attached (Apple reviews an app’s first purchases only if they are submitted with it).
Where to find your way around
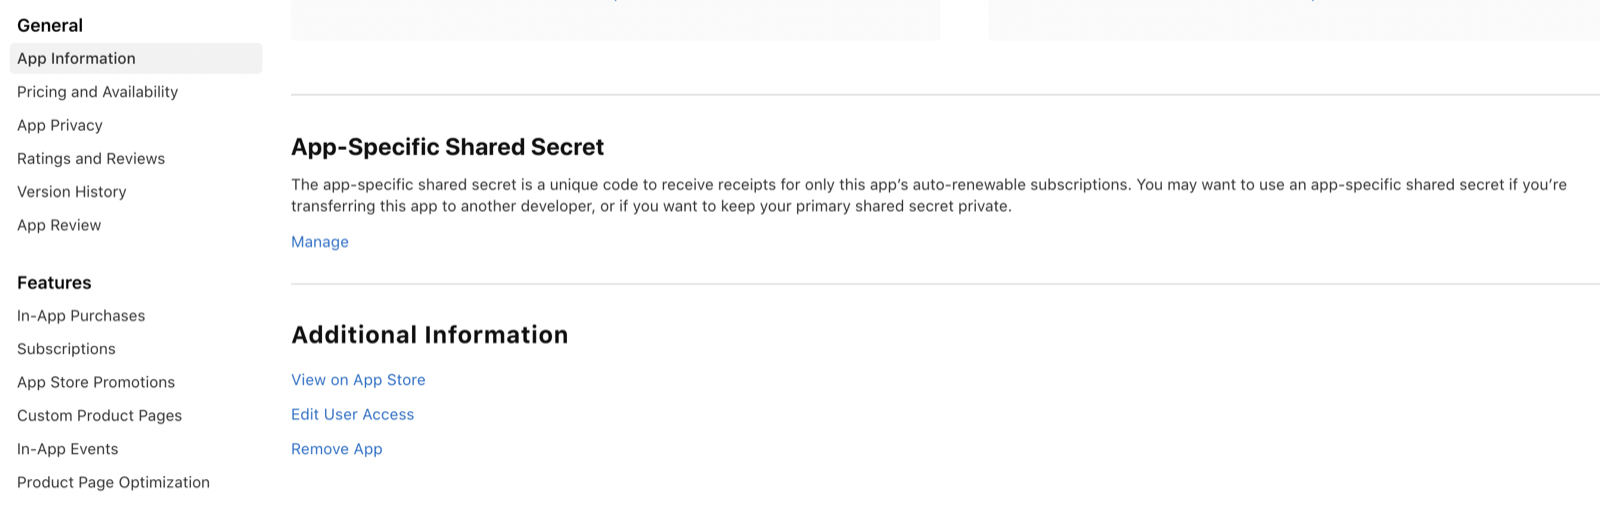
Your app’s settings live under App Information, in the left column of your app in App Store Connect. That is where Bloxks writes your listing, and where you will look for a setting Apple asks about.
Before you publish, check
- Apple Developer membership active.
- Paid Applications agreement Active, bank and tax forms filled in (if you sell).
- Small Business Program requested.
- App Store Connect connected to Bloxks with an Admin key.
- In-app purchase key given to RevenueCat (if you sell).
- A sandbox tester created.
Next: Publish on the App Store.