
Create a paywall
Create your paywall in the Paywall tab, adjust it by describing changes, and set the plans it sells.
The paywall is the screen where your users subscribe. In Bloxks, you create it, set its plans and try a purchase without leaving the builder, and without paying anything. Everything happens in the Paywall tab, the $ icon above the preview.
Before you start: connect RevenueCat with the Connect RevenueCat button. That is what lets Bloxks create your products and your paywall.
Create your paywall
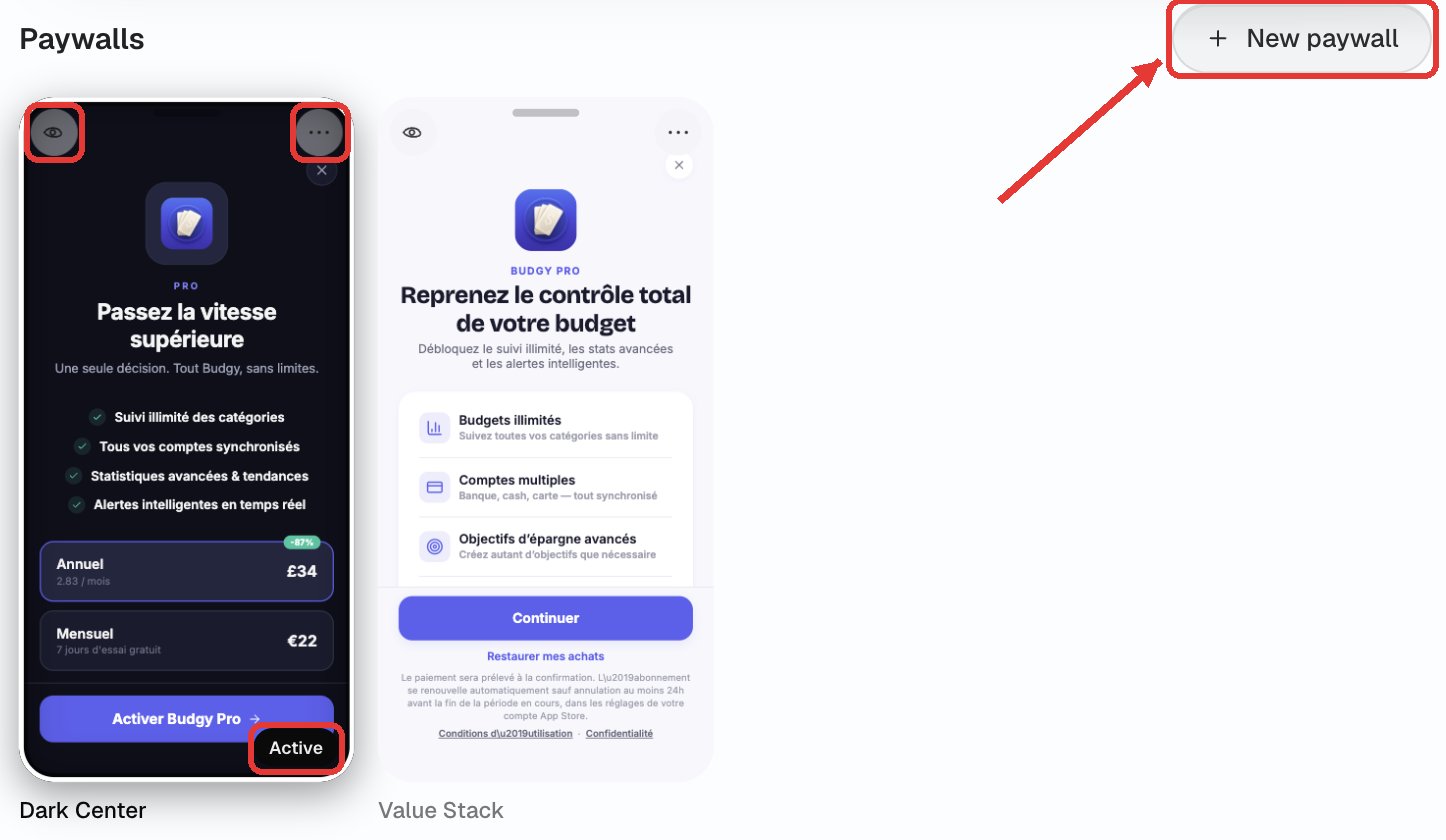
In the Paywall tab, click New paywall. Your paywalls show up as cards: the eye opens a full-size preview, the … menu lets you modify or delete one, and the Active badge marks the one your app shows. Click a card to make it active.
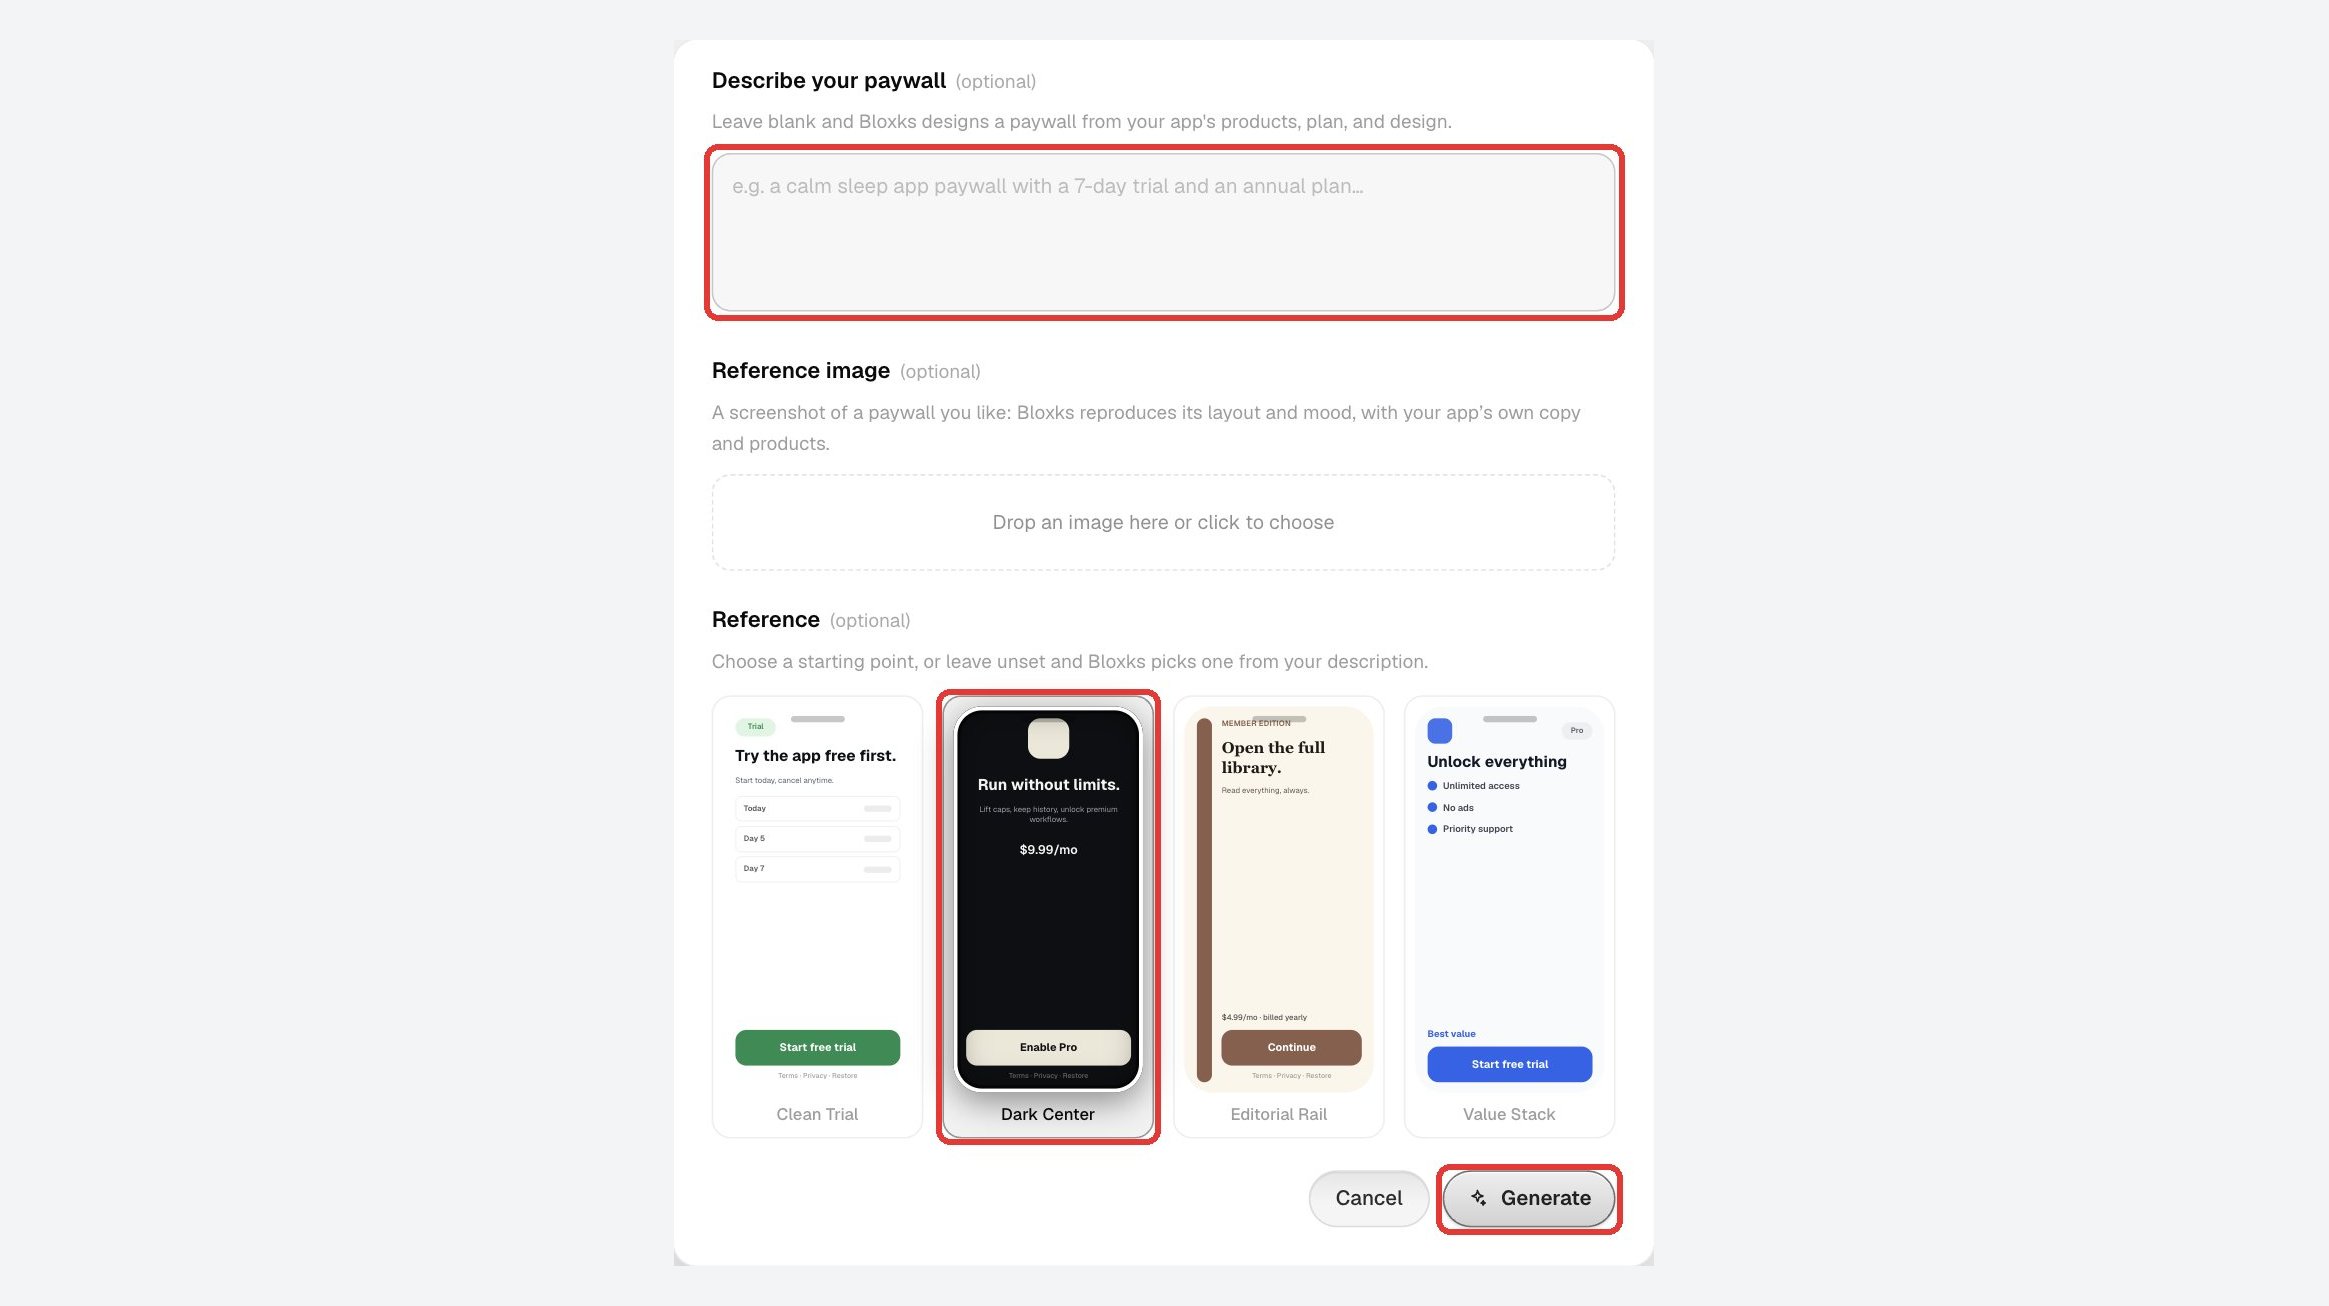
Describe the paywall you want, for example "a calm paywall with a 7-day trial and the annual plan first". Everything is optional: leave it blank and Bloxks designs it from your app. You can also drop a screenshot of a paywall you like, or pick a starting style. Then click Generate: the chat codes the paywall in your app, in your app’s style.
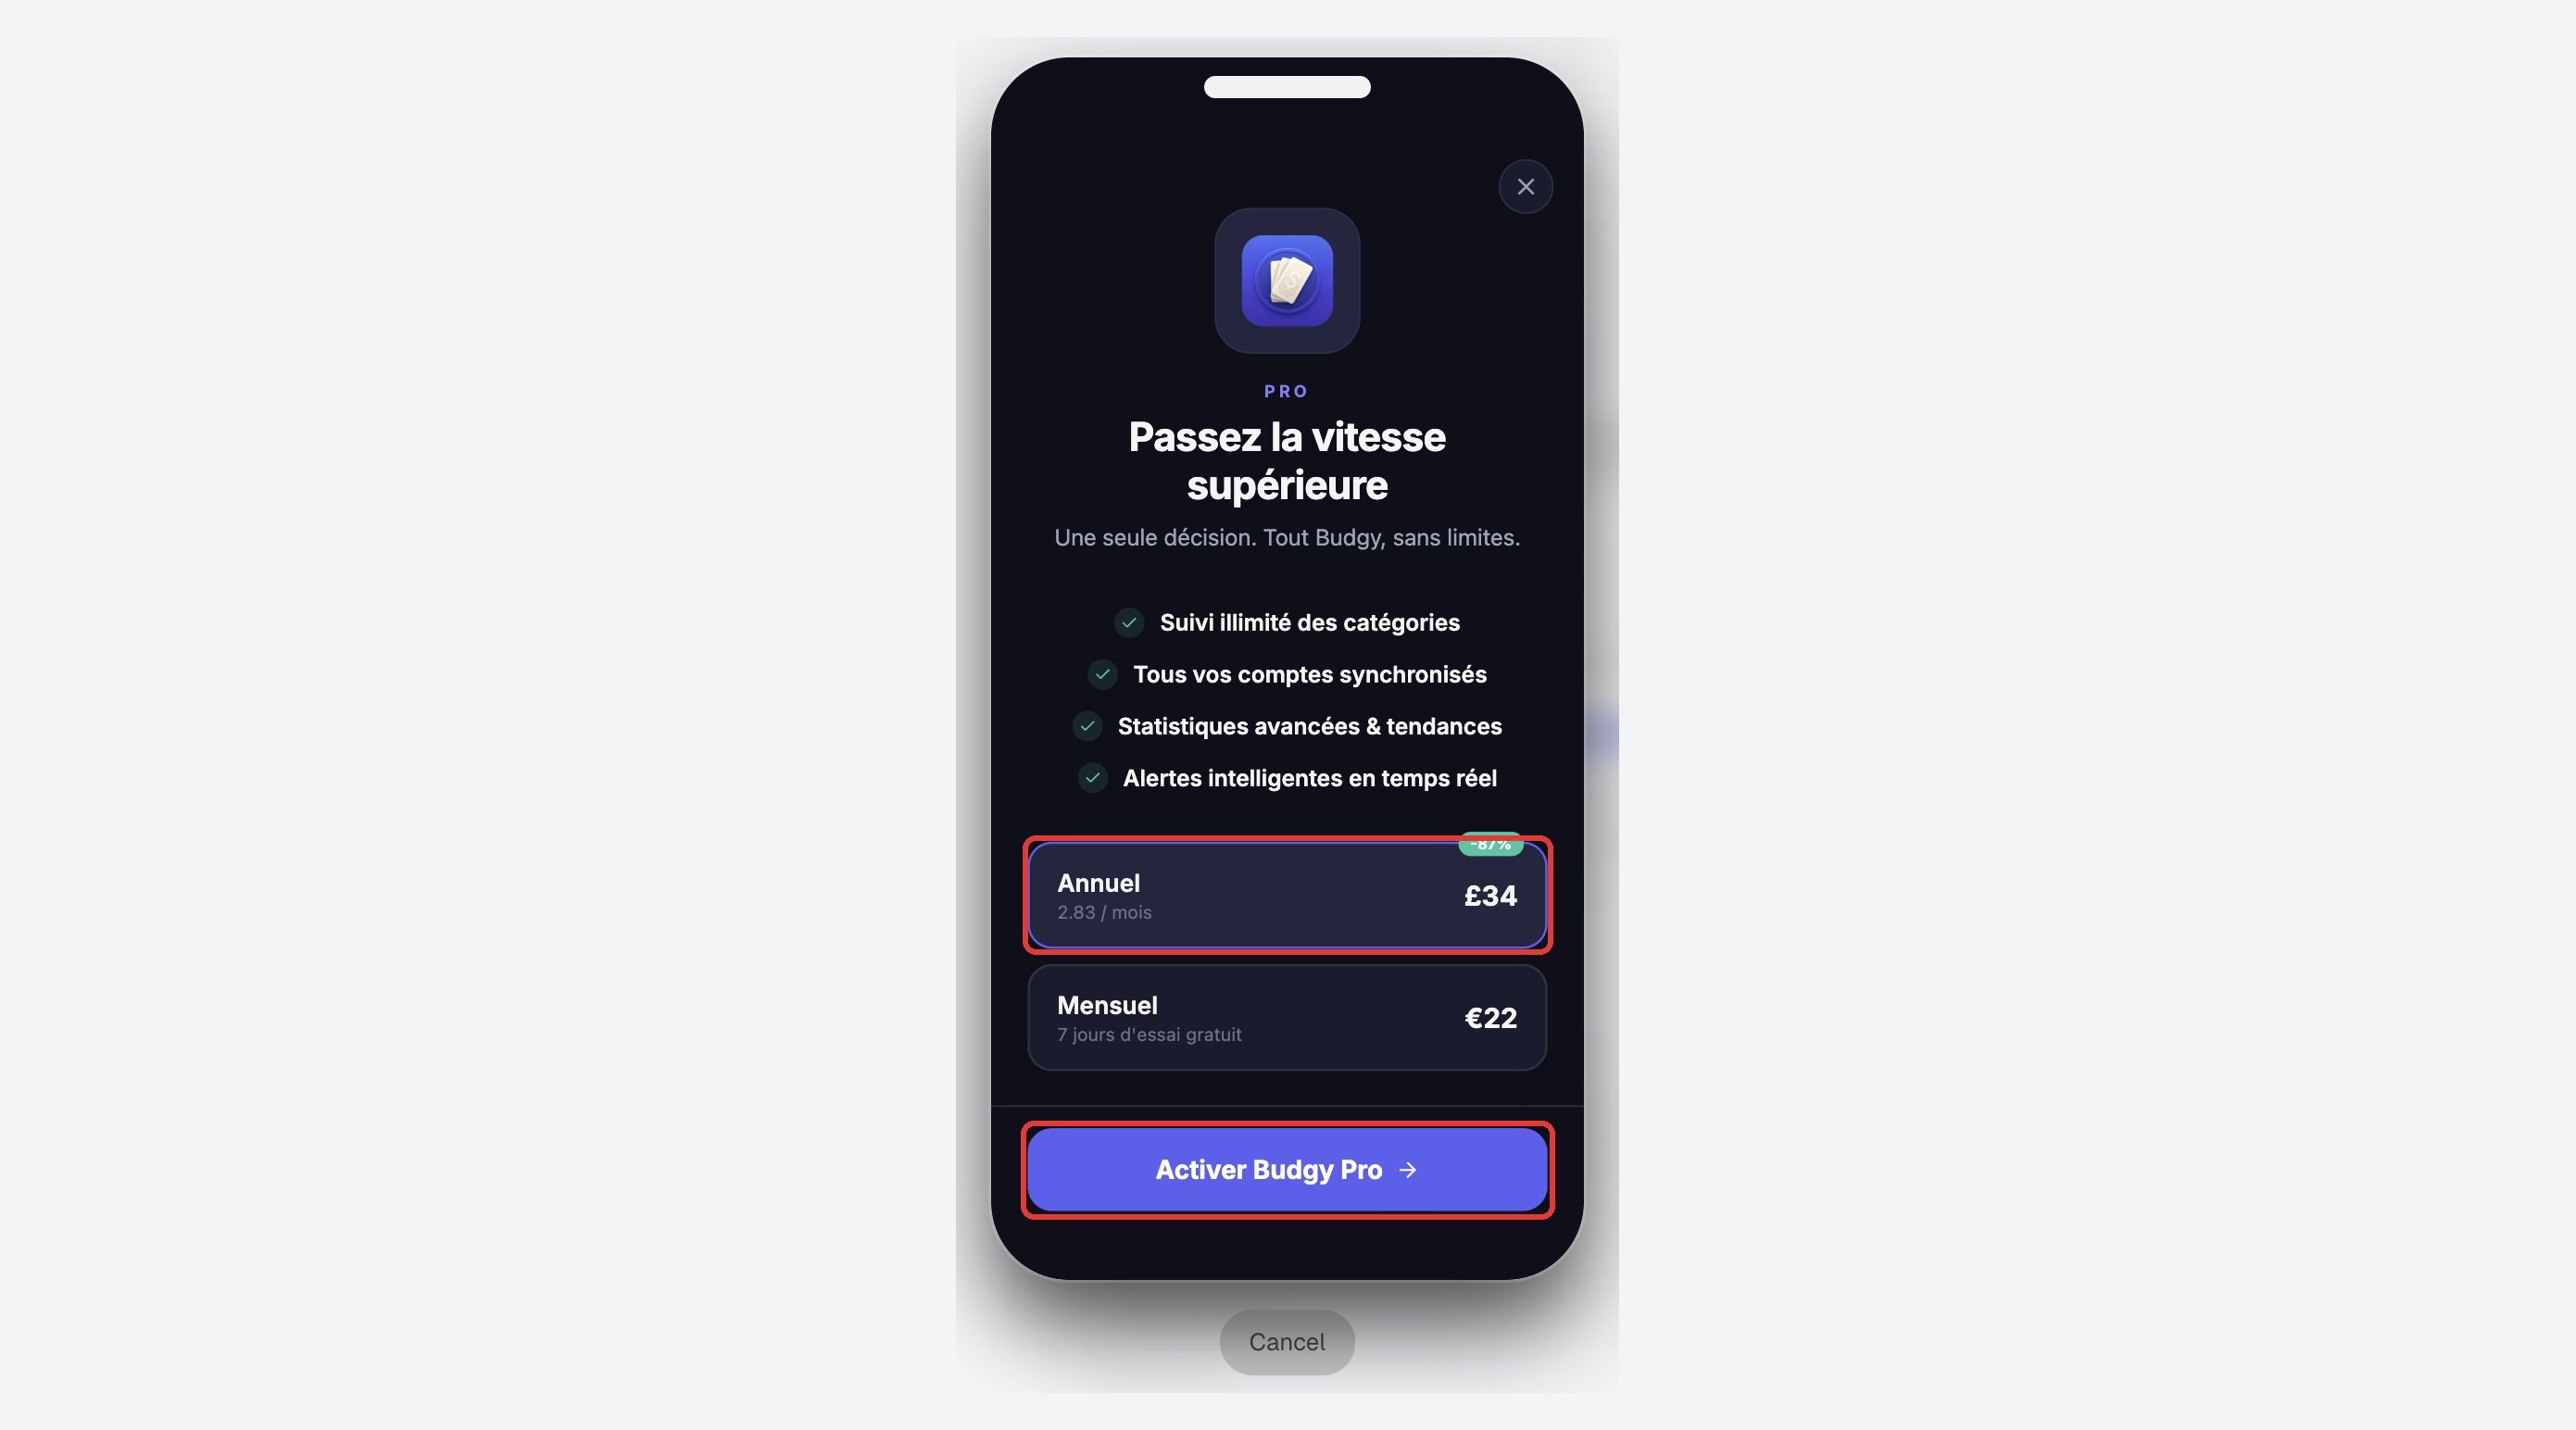
Check the result with the eye: you see the paywall as your users will, with its plans and its button.
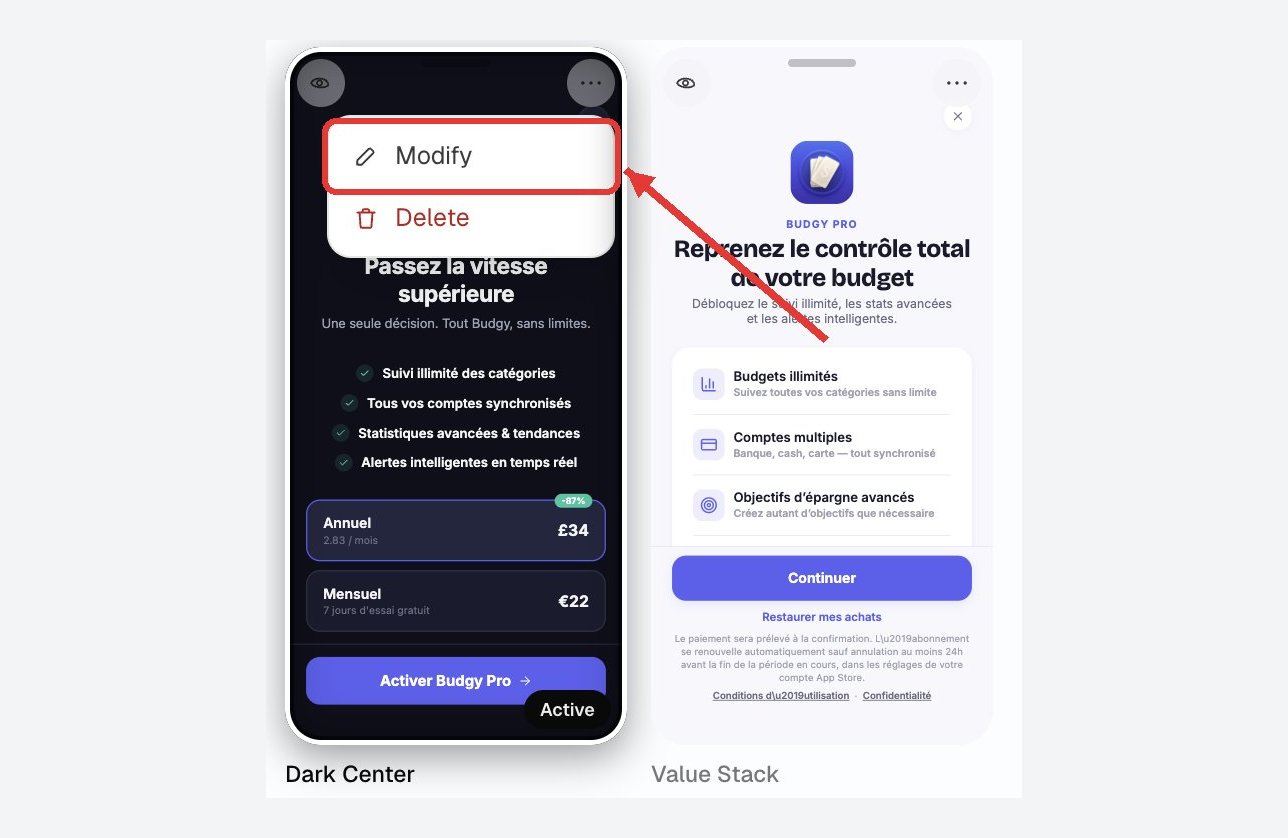
To change it, open the … menu, then Modify, and describe the change: "bigger button", "add a testimonial", "shorter headline".
Set your plans
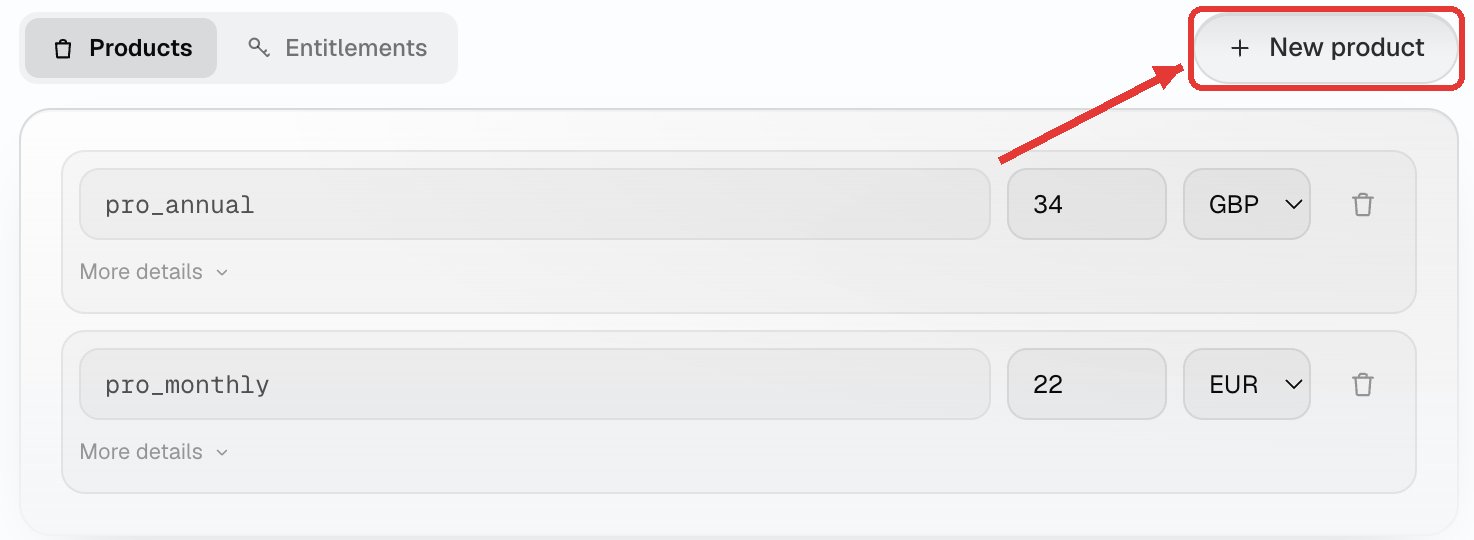
Under the paywalls, the Products list holds your plans: an identifier, a price and a currency. New product adds one, More details sets its duration and its free trial. When you publish, Bloxks creates these plans with their prices on the App Store and Google Play, then links them in RevenueCat.
Next step
Try a purchase in the preview, for free, before publishing: Test purchases.